
Building a custom PC in 2025 represents the pinnacle of computing personalization, offering unmatched performance optimization, cost efficiency, and complete control over your digital experience. This Ultimate Guide to Building a Custom PC empowers both newcomers and enthusiasts to create systems tailored precisely to their needs, whether for cutting-edge gaming, professional content creation, or everyday productivity tasks.
The custom PC market has evolved dramatically, with component compatibility becoming more standardized while performance ceilings continue to rise. Modern builders benefit from extensive online resources, improved component reliability, and competitive pricing that makes custom builds increasingly attractive compared to pre-built alternatives.
Plan Your Build: Goals, Budget & Tools
Successful PC building begins with thorough planning and realistic expectations. Understanding your specific use case, establishing a firm budget, and gathering the proper tools creates the foundation for a smooth build process.
According to PC Part Picker’s 2024 build statistics, the average custom build ranges from $800 to $2,500, with performance scaling appropriately across price tiers.
Identify your primary use case
Your intended usage directly influences component selection and budget allocation:
- Gaming: Prioritizes GPU performance, high-refresh displays, and responsive input handling
- Content Creation: Demands multi-core CPUs, substantial RAM capacity, and fast storage solutions
- Productivity: Balances processing power with energy efficiency and quiet operation
- Workstation: Requires professional-grade components with enhanced reliability and specialized features
Set realistic budget tiers
| Budget Tier | Price Range | Typical Performance | Primary Components |
|---|---|---|---|
| Entry-Level | $600-$900 | 1080p gaming, basic productivity | AMD Ryzen 5/Intel i5, GTX 1660/RX 6600, 16GB RAM |
| Mid-Range | $1000-$1600 | 1440p gaming, content creation | AMD Ryzen 7/Intel i7, RTX 4070/RX 7700 XT, 32GB RAM |
| High-End | $1800-$3000+ | 4K gaming, professional workloads | AMD Ryzen 9/Intel i9, RTX 4080+/RX 7900 XTX, 32-64GB RAM |
Essential tools and workspace setup
Proper preparation prevents complications during assembly:
- Phillips head screwdriver set (magnetic tips preferred)
- Anti-static wrist strap or regular grounding practices
- Cable ties and velcro straps for management
- Thermal paste (if not included with cooler)
- Clean, well-lit workspace with adequate room for maneuvering
- Component boxes and manuals kept nearby for reference
Component Selection & Compatibility
Selecting compatible components requires understanding how different parts interact within your system. Modern platforms offer excellent compatibility, but certain combinations optimize performance while others may create bottlenecks.
Each component choice influences others, making systematic selection crucial for balanced performance and longevity.
Choose CPU & motherboard pair
CPU socket compatibility forms the foundation of your build:
- Intel LGA 1700: Supports 12th, 13th, and 14th generation processors
- AMD AM5: Compatible with Ryzen 7000 and 8000 series CPUs
- Intel vs AMD considerations:
- Intel typically offers superior single-core performance for gaming
- AMD provides better multi-core value for productivity workloads
- Both platforms support modern features like PCIe 5.0 and DDR5
Chipset selection determines available features and expansion options. Z-series Intel and X-series AMD chipsets offer overclocking capabilities, while B-series options provide solid performance at lower costs.
Select RAM, storage, GPU
Memory specifications directly impact system responsiveness:
- Capacity: 16GB minimum for gaming, 32GB+ for content creation
- Speed: DDR4-3200 or DDR5-5600 represent current sweet spots
- Form factor: DIMM for desktops, ensure motherboard slot compatibility
Storage hierarchy should balance speed, capacity, and budget:
- Primary SSD: NVMe M.2 for OS and frequently used applications
- Secondary storage: Additional SSD or traditional HDD for bulk data
- Capacity planning: 500GB minimum primary, scale according to usage
Graphics card selection depends heavily on target resolution and frame rates. Current generation cards offer significant efficiency improvements over previous generations.
Power supply & cooling solutions
PSU wattage calculation prevents power-related instability:
- Calculate total system draw using online calculators
- Add 20-30% headroom for efficiency and future upgrades
- 80+ Gold certification minimum for efficiency
- Modular cables improve airflow and aesthetics
| Cooling Solution | Pros | Cons | Best For |
|---|---|---|---|
| Stock Air Cooler | Included, reliable | Limited performance | Budget builds, low TDP CPUs |
| Aftermarket Air | Quiet, cost-effective | Height clearance issues | Most mainstream builds |
| AIO Liquid | Superior cooling, aesthetics | Higher cost, complexity | High-end CPUs, compact cases |
| Custom Loop | Maximum performance | Expensive, maintenance | Enthusiast builds only |
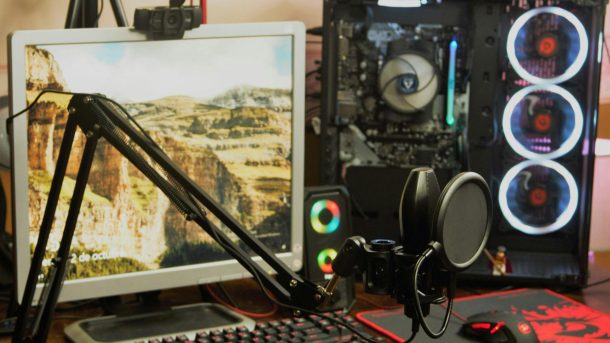
Step-by-Step Build Process
Physical assembly follows a logical sequence that minimizes handling and reduces potential damage. Working methodically with proper cable management creates cleaner, more maintainable systems.
Modern cases and components feature improved connectors and labeling that simplify the build process compared to earlier generations.
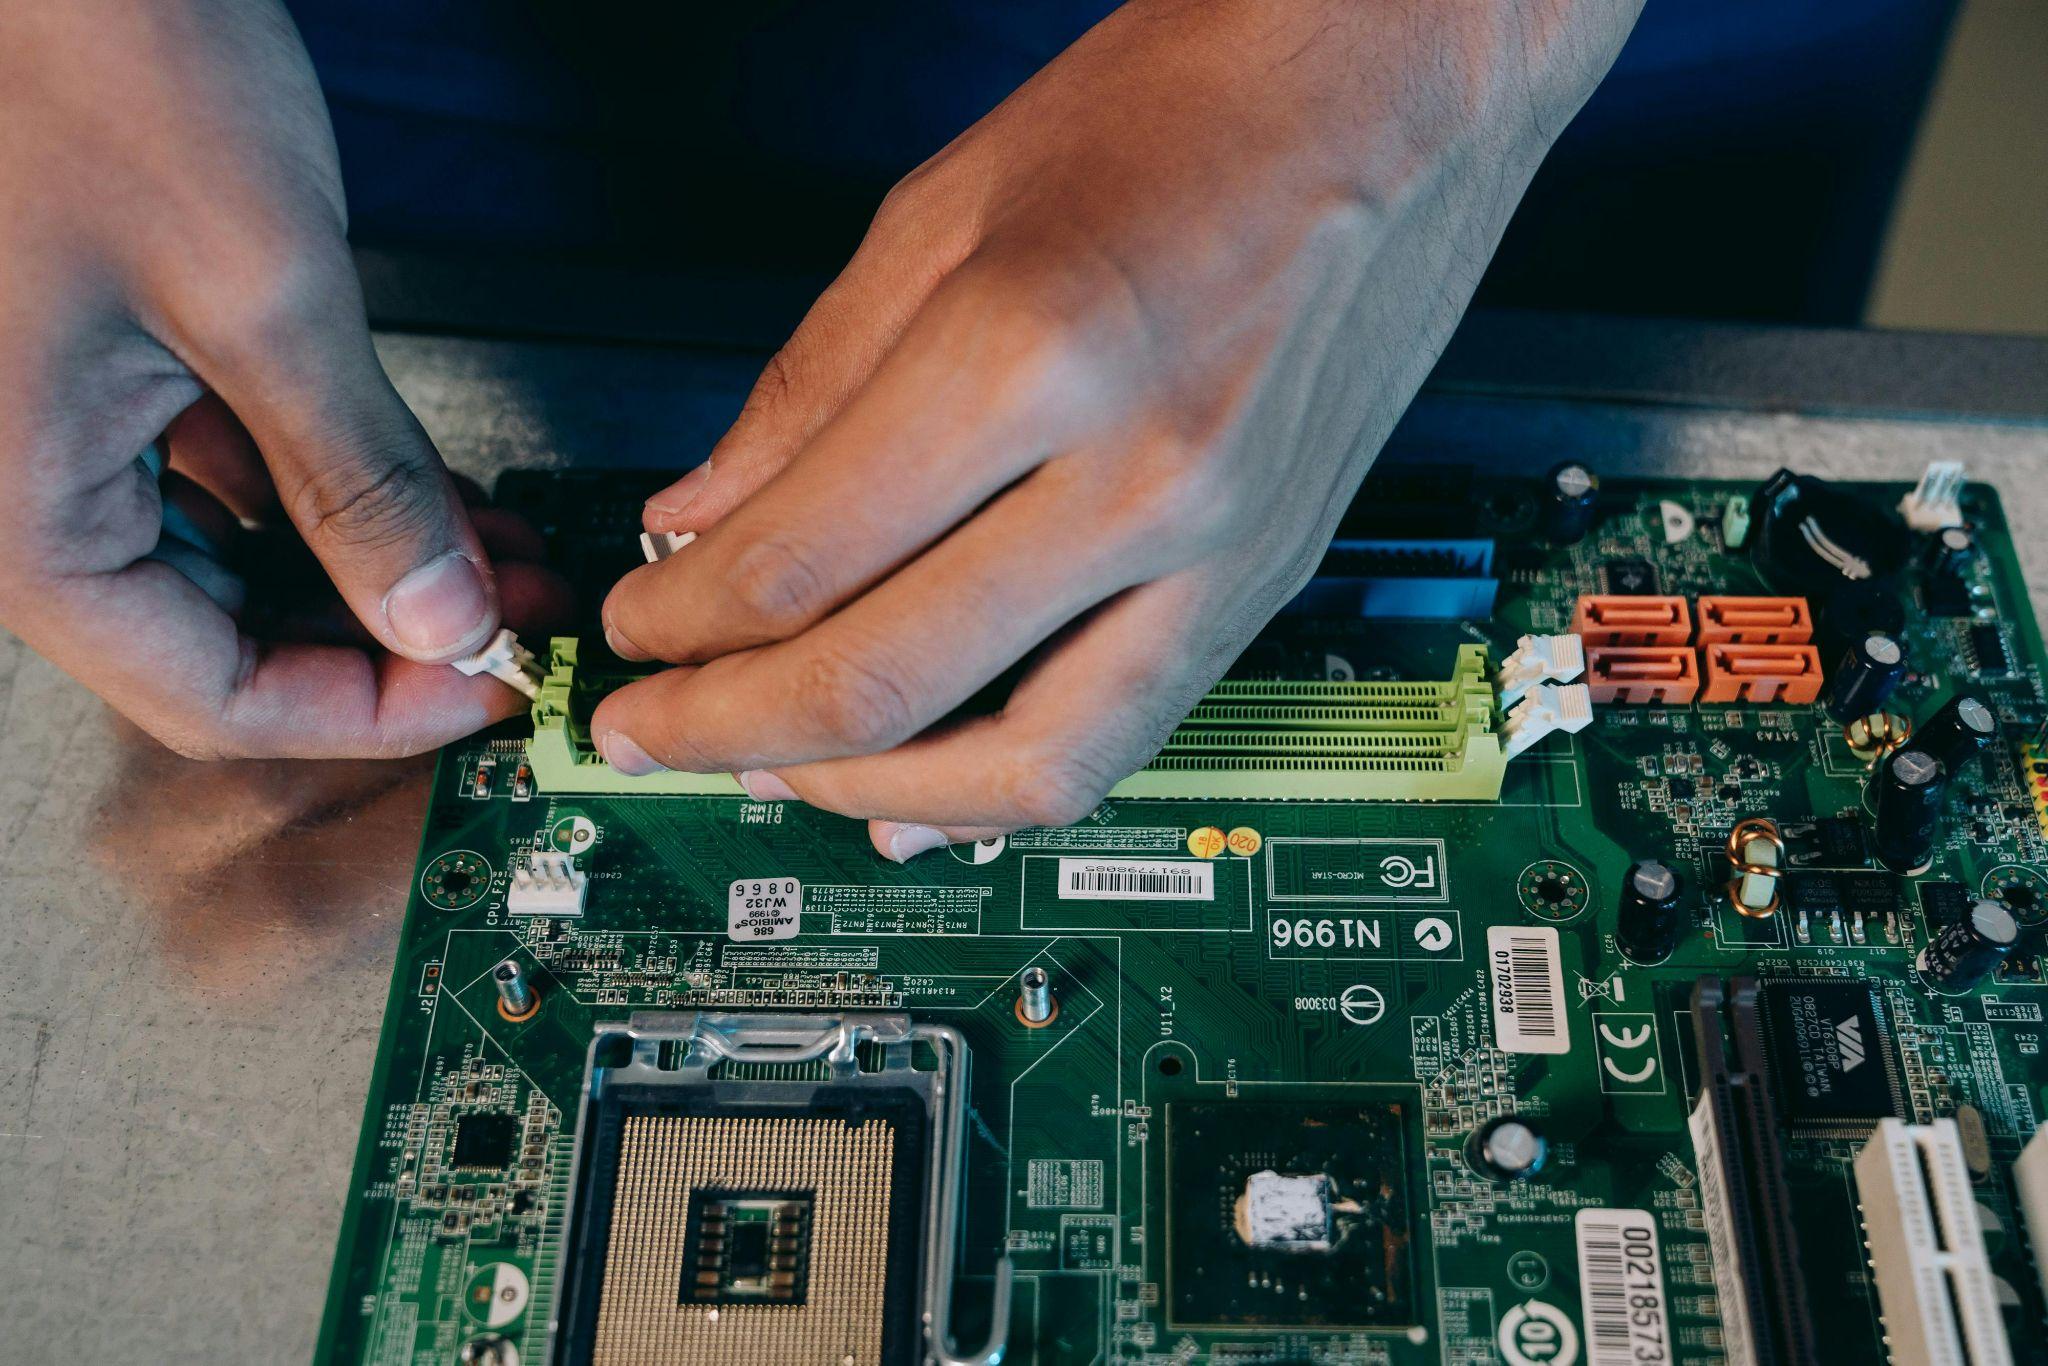
Installing the motherboard, CPU, and RAM
- Prepare the motherboard outside the case on anti-static surface
- Install CPU by lifting retention arm, aligning processor, and securing gently
- Apply thermal paste if not pre-applied on cooler
- Mount CPU cooler following manufacturer torque specifications
- Install RAM in correct slots (typically slots 2 and 4 for dual-channel)
- Test fit motherboard in case before final installation
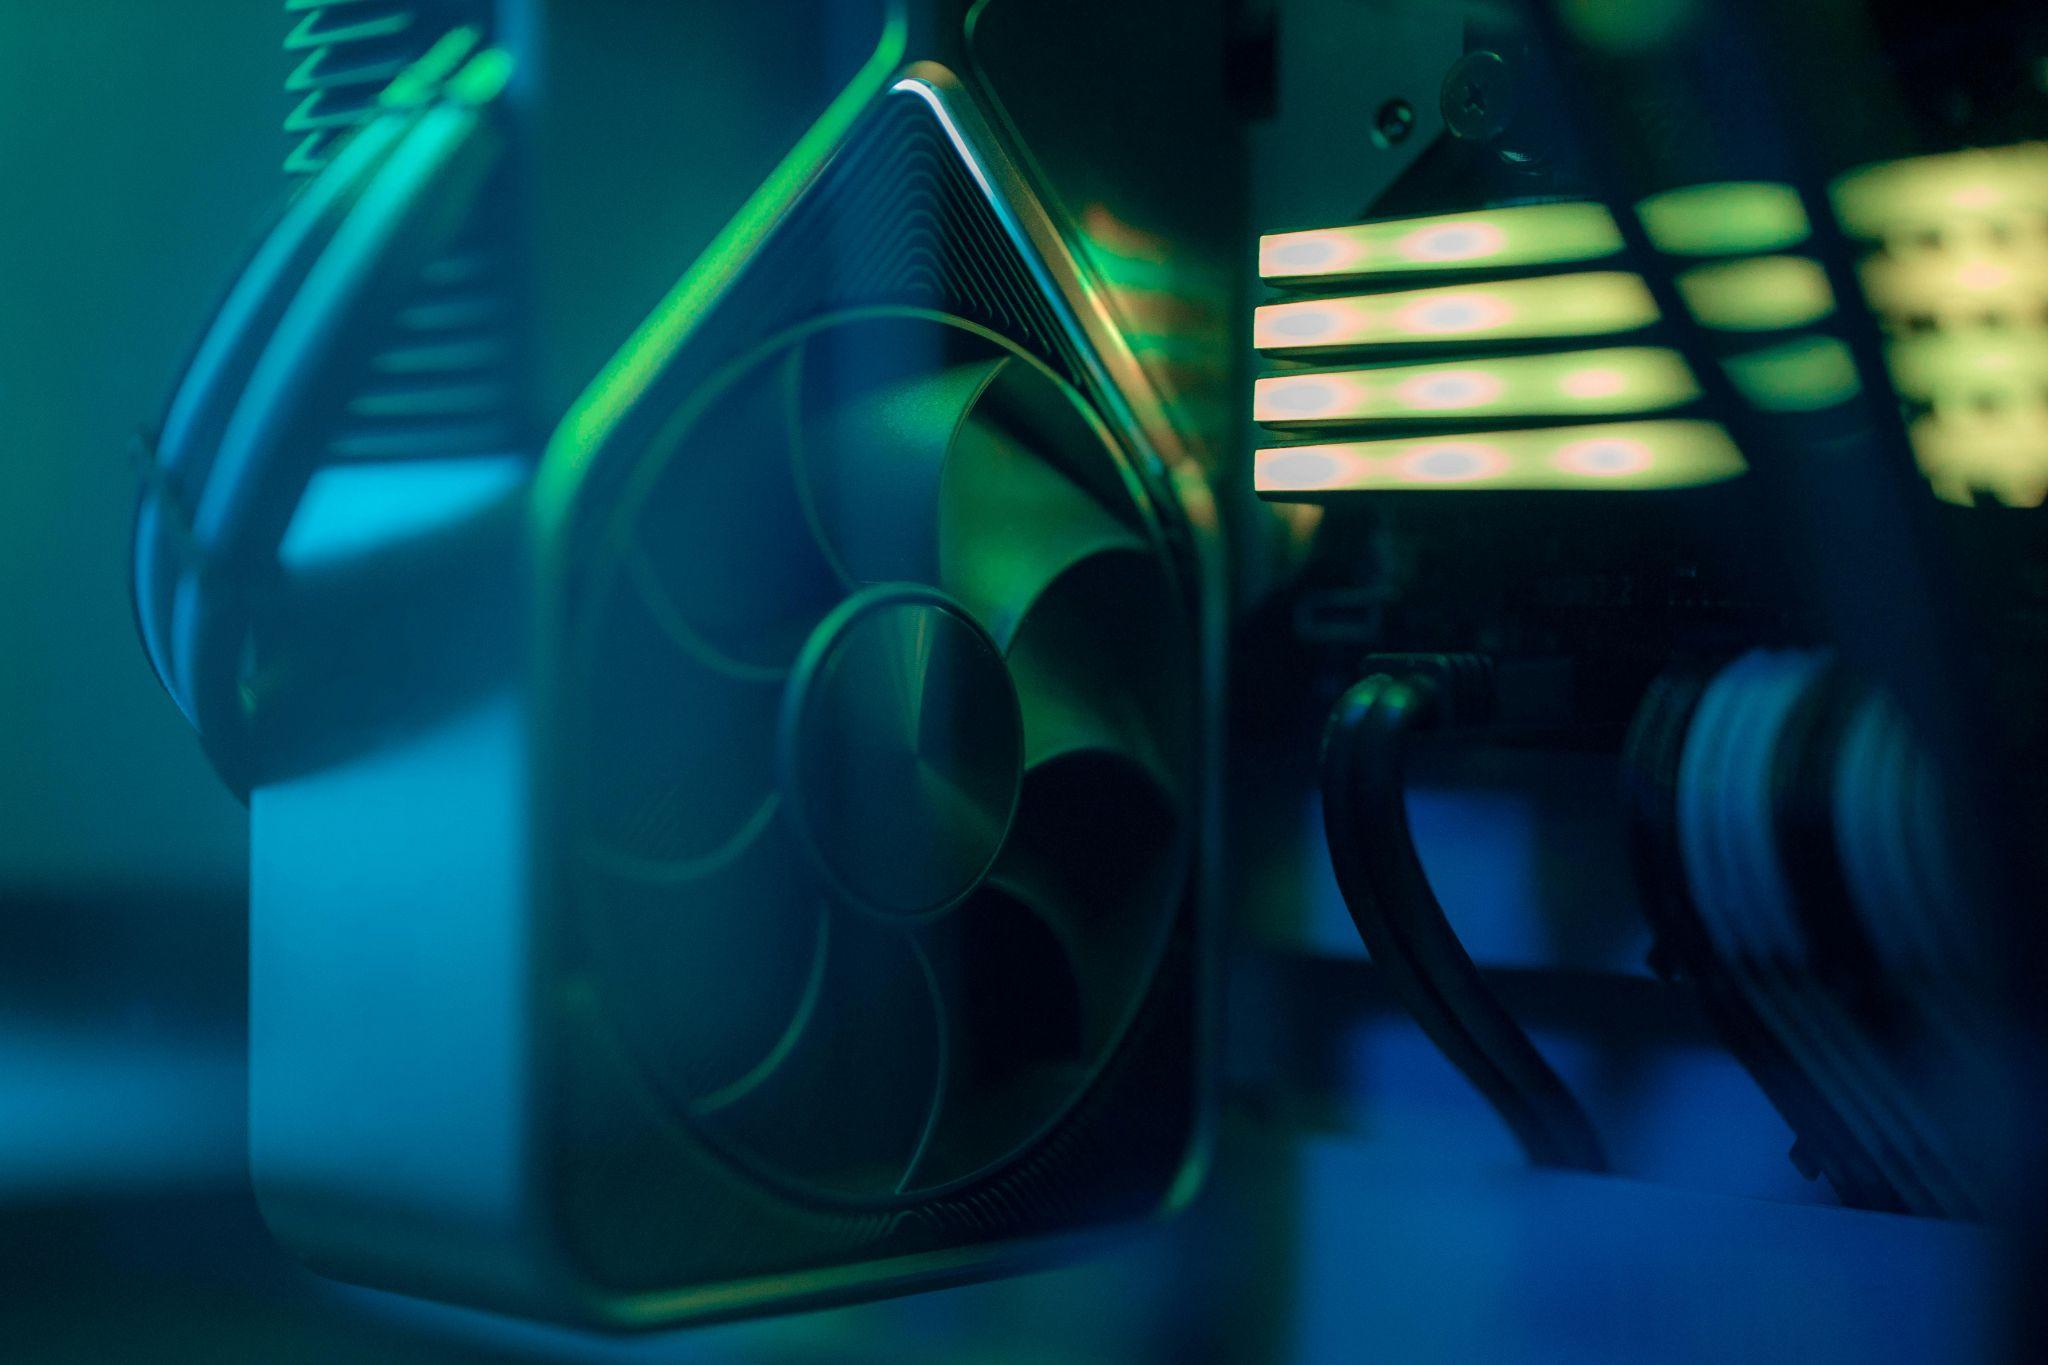
Mounting GPU, drives & cooling
- Install motherboard I/O shield in case rear opening
- Mount motherboard using standoffs, ensuring proper alignment
- Install storage drives in designated bays or M.2 slots
- Mount graphics card in top PCIe x16 slot, secure with screws
- Connect all power cables: 24-pin ATX, 8-pin CPU, PCIe power
- Install case fans maintaining proper intake/exhaust balance
Cable management & case airflow
Proper cable routing improves both aesthetics and thermal performance:
- Route power cables behind motherboard tray when possible
- Group similar cables using zip ties or velcro straps
- Maintain airflow paths: intake front/bottom, exhaust rear/top
- Leave service loops for future maintenance access
- Test all connections before final cable securing
First Boot, BIOS Configuration & Software Setup
Initial system startup requires methodical testing and configuration to ensure stable operation. Modern BIOS interfaces provide user-friendly setup wizards that streamline basic configuration.
Taking time for proper initial setup prevents future stability issues and optimizes performance from day one.
Powering on and BIOS tweaks
Essential BIOS configurations include:
- Enable XMP/DOCP profiles for rated RAM speeds
- Set boot device priority with USB/optical first for OS installation
- Configure fan curves balancing noise and temperatures
- Enable UEFI mode for modern OS compatibility
- Update BIOS firmware if newer versions address compatibility issues
Installing OS, drivers & updates
- Create Windows installation media using Microsoft’s creation tool
- Boot from installation media and follow setup wizard
- Install chipset drivers from motherboard manufacturer
- Install graphics drivers from NVIDIA or AMD directly
- Run Windows Update multiple times until no updates remain
- Install essential software: browsers, security, utilities
Performance Tuning & Benchmarking
Systematic testing validates build stability while identifying optimization opportunities. Benchmarking databases like UserBenchmark provide comparative performance metrics across similar hardware configurations.
Modern components often perform well at stock settings, making aggressive overclocking less necessary than in previous generations.
Basic stress & performance tests
Essential benchmarking tools validate system stability:
- Cinebench R23: CPU multi-core and single-core performance
- 3DMark Time Spy: Graphics performance and system stability
- Prime95: CPU stress testing for thermal and stability validation
- MemTest86: RAM integrity testing over extended periods
Fine-tuning overclocking & fan profiles
Conservative overclocking approach maximizes gains while maintaining stability:
- Increase frequencies gradually: 50-100MHz increments for safety
- Monitor temperatures constantly: keep CPU under 85°C, GPU under 80°C
- Test stability thoroughly: run stress tests after each adjustment
- Document stable settings: record voltages and frequencies for reference
Maintenance & Future Upgrades
Regular maintenance extends component lifespan while maintaining optimal performance. Planning upgrade paths during initial builds accommodates future needs without complete system replacement.
Component manufacturers typically support platforms for 3-5 years, providing multiple upgrade opportunities within single motherboard generations.
Routine cleaning & BIOS updates
Monthly maintenance checklist:
- Dust removal: compressed air cleaning of fans and heat sinks
- Cable inspection: ensure connections remain secure
- Temperature monitoring: verify thermal performance hasn’t degraded
- BIOS updates: install firmware updates addressing security or compatibility
- Driver updates: keep graphics and chipset drivers current
Planning for future upgrades
Logical upgrade progression maximizes performance improvements:
- Graphics card: typically provides largest gaming performance gains
- RAM expansion: add capacity or upgrade to faster speeds
- Storage upgrades: additional SSDs or higher capacity drives
- CPU upgrades: within same socket generation for compatibility
Resources, Tools & Communities
Leveraging online resources accelerates learning while connecting builders with experienced communities. Modern tools simplify compatibility checking and optimize component selection.
The PC building community offers extensive support through forums, video guides, and interactive tools that make custom builds accessible to newcomers.
Using build planning tools
Essential planning resources:
- PCPartPicker: compatibility checking, price tracking, and build sharing
- BuildCores: alternative planning tool with performance estimates
- Logical Increments: tiered build recommendations by budget
- YouTube channels: visual guides from LinusTechTips, Gamers Nexus, and JayzTwoCents
Finding support & inspiration
Community resources provide ongoing assistance:
- Reddit communities: r/buildapc, r/pcmasterrace for advice and troubleshooting
- Tom’s Hardware forums: detailed technical discussions and reviews
- Discord servers: real-time chat support for immediate questions
- Local computer stores: hands-on assistance and component availability
Conclusion
Building a custom PC transforms from daunting challenge to rewarding achievement through proper planning, quality components, and methodical assembly. This comprehensive guide provides the framework for creating systems that precisely match individual needs while offering superior performance and value compared to pre-built alternatives.
The journey from component selection through final optimization teaches valuable technical skills while providing deep understanding of computer architecture. Your custom build represents a personal achievement that delivers exactly the performance, aesthetics, and functionality you envisioned.
Start planning your build today, engage with the supportive PC building community, and experience the satisfaction of creating a system uniquely yours. The perfect custom PC awaits your vision and dedication.